A lab centrifuge is an extremely useful and often necessary piece of equipment in many labs. Utilized in a range of applications including sedimentation of cells and isolation of macromolecules, a centrifuge uses rotational movement and the principle of sedimentation to separate substances according to density.
A professional-grade centrifuge is necessary for many applications, but these units aren’t exactly inexpensive. Some are low cost at around $150, but this is beyond the budgets of many. As such, you might be wondering if it’s possible to create your own DIY centrifuge.
The answer is yes. The past several years has seen a surge in the popularity of open source lab equipment, with “instructables” available for everything from magnetic stirrers to orbital shakers to lab incubators. Among them, there are several ingenious options for building a low-cost yet effective centrifuge. Now, some ideas we don’t recommend, such as this loud and dangerous circular saw centrifuge. Even the creator of this centrifuge states that you would be better off buying an inexpensive centrifuge than using this technique.
Other options, however, are safer and more practical, with centrifuges being fashioned out of Dremel tools, salad spinners, and even paper and string. We take a look at some of these below.
1. ThinkTac
This is probably one of the simplest and most inexpensive instructables we’ve come across. In this ThinkTac video, you can see how to make a small centrifuge from just a few basic materials:
- A cardboard circle
- A small button with four holes
- String
- Glue
- Popsicle sticks
- Tape
The button is fixed into a hole in the center of the cardboard circle using glue, and the string is threaded through the holes in the button. The popsicle sticks are fixed to either end of the string to use as handles. Sample tubes are fixed to the cardboard circle using tape. The user holds the handles to stretch out the string, makes a few rotations of the cardboard and then slowly stretches and releases the string to allow the high-speed rotation to continue.
The “paperfuge” was actually created by Stanford researcher, Professor Manu Prakash in 2017. He describes trying to come up with a centrifuge that runs without electricity, fits inside his pocket, and costs less than a dollar to make. Prakash observes that "By boxing ourselves in with constraints, we can think outside the box.” His design is based on the simple concept of a spinning toy called a whirligig, the design of which has been around for thousands of years.. The supercoiling effect of the string is enough to generate speeds of up to 125,000 RPM. These centrifuges have potential uses across the globe in the detection of malaria, HIV, and other conditions.
2. D’Art of Science
This design takes the paperfuge to the next level, and it is a bit more difficult to build, but only marginally more expensive. The extra material you need is a wire that is manipulated such that it acts as a swing for the tubes. This way, they return to a vertical position immediately after spinning stops, limiting the chance of remixing of the separated components.
Aside from using the wire with cardboard and string, you can use it with other rotating devices. The video provides instructions for utilizing it with a ceiling fan or a Dremel tool.
3. Rice University
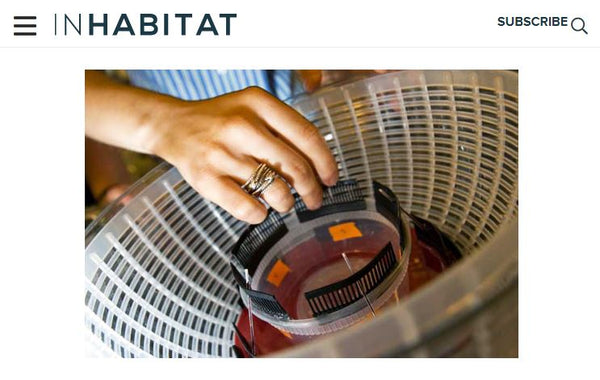
Source: Inhabitat
Back in 2010, Rice University students Lila Kerr and Lauren Theis were tasked with finding a manual, low-cost, and portable method to diagnose anemia. The result? A centrifuge primarily made from a humble salad spinner, along with a few other everyday objects including combs, yogurt pots, plastic lids, and a hot glue gun.
The full details for putting together the centrifuge can be found in this NCBI article. The design cost around $30 in total and achieved an average speed of around 600 RPM and speeds of up to 950 RPM.
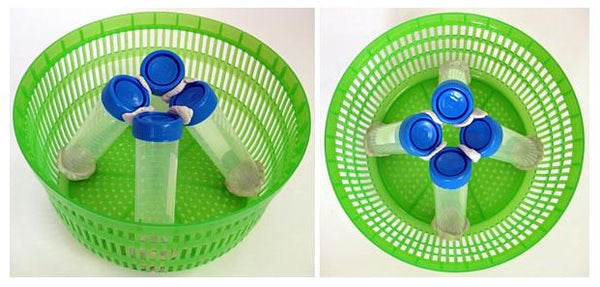
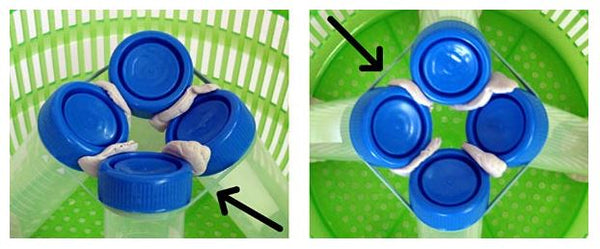
The combs incorporated in the design enable you to separate samples held in tiny capillary tubes. If you want to use a salad spinner for larger samples, you could adapt the design. Indeed, the version below from Science Buddies simply uses moldable adhesive putty and rubber bands to hold tubes in place.
4. Bitesize Bio
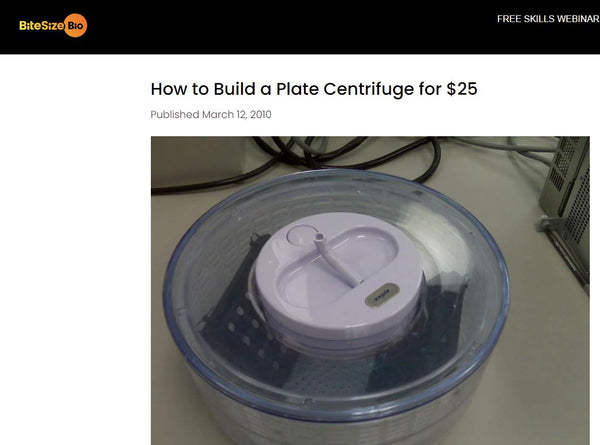
If you’re just looking to centrifuge samples on a microplate, then things are even simpler. This centrifuge has just three components:
- A salad spinner (the model used was a Zyliss pull-cord spinner)
- Cable ties (multi-purpose)
- Plate inserts (96-well plates were used)
You simply use the cable ties to secure the plate inserts in place and you have your mini microplate centrifuge.
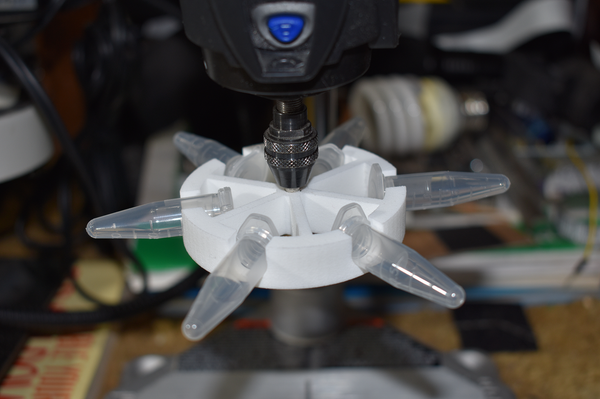
5. Dremelfuge
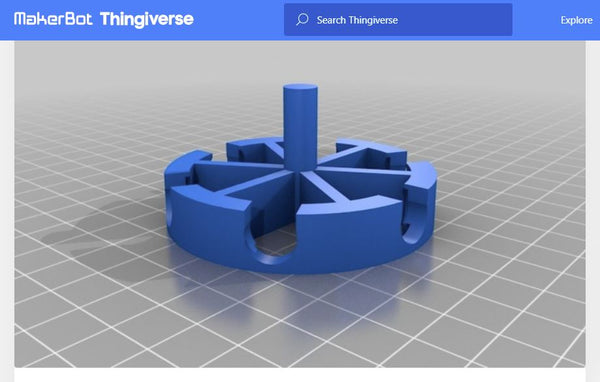
We mentioned a Dremel tool being used above as a means to spin tubes. This design uses a 3D-printer to create an attachment that can be fixed to the head of a Dremel tool.
The simple attachment is designed to fit three tubes. A Dremel rotary tool can provide speeds of up to 35,000 RPM, making it faster than some of the other options on this list. Although it’s not the cheapest solution, if you happen to have a Dremel tool and access to a 3D printer, it could be a great option.